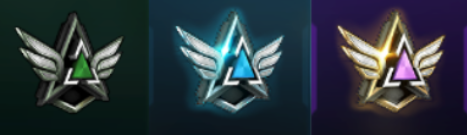
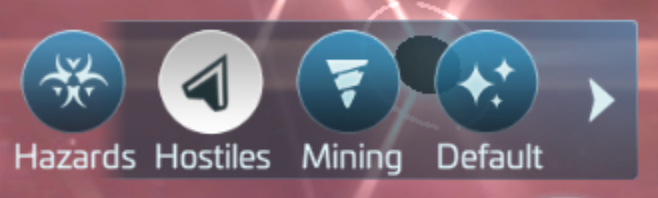
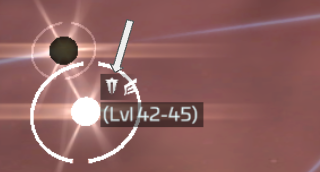
Armadas are group PvE fights against targets too tough for a single ship -- your alliance piles on together in one combat and splits the rewards. Anyone in the alliance can join an Armada a teammate has already started, as long as they join within the countdown window and bring a ship into the Hostile's radius before the timer runs out. To start one yourself you need Ops 23+, the Armada Control Center built, and an Armada Directive to spend -- once you summon the target, the rest of the alliance gets notified and can pile in for free. Switch the Galaxy view to Hostile mode to spot Armada targets on the map; the icon tells you an Armada is present, but you have to actually enter the system to see its type and level. Two variants sit outside this pattern: Grade 5 Armadas start paying off meaningfully from Ops 51+, and Grade 6 Armadas work more like Dominion Solo Armadas -- only your own ships (up to two) fight, not the whole alliance.
Armada Targets are the hostiles you're fighting -- Uncommon, Rare, or Epic -- scattered across Federation, Klingon, Romulan, and neutral space. Your alliance can only run one active attack against any single target at a time, though you can run attacks against several different targets simultaneously. Despite belonging to a faction, defeating an Armada hostile carries no faction-reputation penalty, and it still counts toward faction-locked Research, Officer, and Ship abilities as if it were a normal faction kill.
Directives are the consumable tokens that summon a specific Armada, and the game runs a lot of them -- standard Uncommon/Rare/Epic directives for regular PvE Armadas, plus separate directive types tied to whatever Borg, Xindi, Krenim, or other event is currently live. Standard directives come from Alliance Store chests (bought with Armada Credits earned by defeating Armadas), from Daily Goals, from Leader Chests for starting and winning an Armada, and their output rate improves as you upgrade the Armada Control Center. Event-specific directives are almost always tied to that event's own currency or store rather than the general Alliance Store, so if a directive type you need has dried up, check whether its event is still running before assuming something's broken.
Winning an Armada attack pays out Armada Credits -- sent straight to your station rather than into cargo, so they can't be raided in transit -- which you spend on Reward Packs in the Alliance Store. Formation Armadas (the multi-node kind) pay out differently: a Participation Chest can go to one random non-leader per node if it's defeated, the player who spent the directives to start a node always gets a Leader Chest, and if all nodes in the Formation fall, everyone who took part additionally gets one Artifact Chest. Because you can commit ships to more than one node, your total haul from a single Formation Armada can stack: up to one Participation Chest per node you joined, at most one Leader Chest total (you can't lead two nodes at once), and one Artifact Chest if the whole Formation goes down.
Joining an Armada doesn't guarantee your ship fights: you need to have joined within the countdown, and your ship needs to have been inside the Hostile's radius at least 10 seconds before the attack started. Armadas also cap how many ships can actually take part -- if more players join than the cap allows, the system keeps the strongest ships and drops the rest, unless the Armada Leader has manually flagged specific members to guarantee their slot. Beyond that, the whole Armada can simply fall through: the leader left the alliance before the attack, the leader's own ship wasn't in range when it started, or someone else finished off the target first.