Isolytic damage, Hazards, and the Artifact system
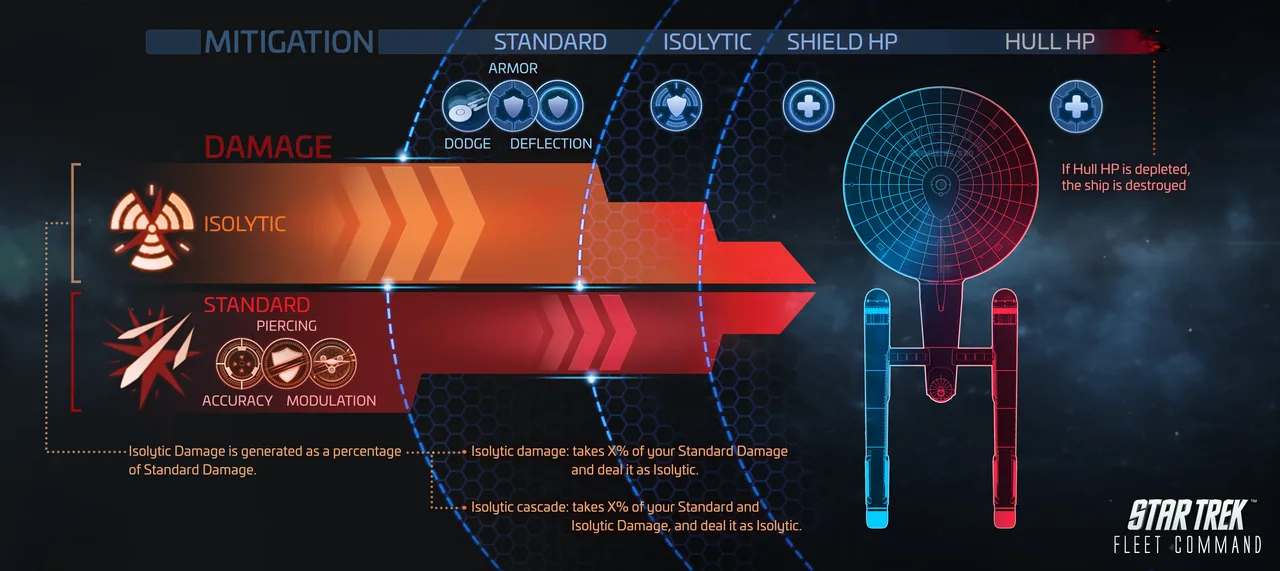
- Isolytic damage fires alongside your normal weapons. It ignores standard mitigation. Only Isolytic Defense reduces it.
- It is a percentage of your total standard damage. Anything that raises your normal damage also raises your Isolytic damage.
- Hazards deal damage over time. If a Hazard destroys your ship, you do not lose your loot.
- There are 15 Temporal Artifacts. You farm their shards with a daily Ex-Borg Faction Store bundle.
Isolytic damage fires alongside your normal weapons. Every shot deals both. It ignores armor, shield and hull mitigation. Its own counter-stat is Isolytic Defense, so it stays effective against ships with high standard mitigation. It comes from Artifacts and Officers. Artifacts apply it once unlocked. Officers apply it only while crewed. Upgrade Artifacts, or promote and level the Officers who grant it, to raise your percentage.
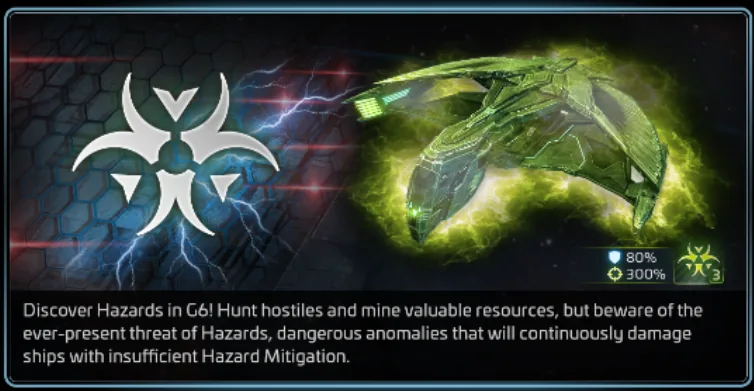
Hazards are damage-over-time zones. The types are Ion Storms, Radiation Fields, Asteroid Fields and the rare, high-level Nameless Horror. Each type has five strength levels. A ship in a Hazard system takes continuous hull damage until it leaves, enters combat or is destroyed. If a Hazard destroys your ship, you do not lose your loot. Most other ways of losing a ship cost you the loot. In return for the risk, Hazard systems mine faster, drop exclusive raw ship parts and pay more reputation.
There are 15 Temporal Artifacts. Each gives a specific combat buff. You collect them through a daily Ex-Borg Faction Store bundle. It holds Temporal Disruptors and Silent Nebula Tokens. Disruptors buy Artifact shards in the Store's Artifact section. Tokens send you into the Silent Nebula to fight Silent Hostiles. They drop Temporal Disruptor Parts. You trade the Parts for reward chests with more Disruptors, Ship Parts and Orbit Medallions. Your roster grows only as fast as you keep farming.
FULL DETAIL — 3 MORE SECTIONS
Isolytic Damage fires alongside your normal weapons damage rather than replacing it -- every shot deals both. It's calculated as a percentage of your total standard damage after every buff and modifier has already been applied, using the formula (Total Standard Damage x Isolytic Damage Bonus) / (1 + Opponent's Isolytic Defense). Two things follow from that: first, anything that raises your standard damage -- research, officers, ship upgrades -- raises your Isolytic output too, since it's derived from the same number. Second, it ignores standard mitigation entirely; it has its own separate counter-stat, Isolytic Defense, so it stays effective against a ship stacked with armor, shields, and hull mitigation. You get Isolytic Damage through Artifacts and Officers -- Artifacts apply it passively once unlocked, Officers only while they're actually crewed -- and you raise your percentage by upgrading Artifacts or promoting and leveling the Officers who grant it.
Hazards are environmental damage-over-time zones -- Ion Storms, Radiation Fields, Asteroid Fields, and the rarer, high-level Nameless Horror -- each running at one of five strength levels. A ship sitting in a Hazard system takes continuous hull damage until it leaves, enters combat (which suspends the Hazard tick), or is destroyed -- and destruction by a Hazard doesn't cost you your loot, unlike most other ways to lose a ship. The trade for the risk is real: Hazard systems mine faster, drop exclusive raw ship parts you can't get elsewhere, and pay out more reputation. You reduce the damage through ship abilities, research nodes, and Uncommon-tier refits built specifically for Hazard resistance. Hazard damage stops the moment you leave the system or enter a battle.
There are 15 Temporal Artifacts, each granting a specific combat buff rather than a generic stat bump -- several are matchup-specific, like bonus critical chance only when a Battleship is fighting an Explorer, and none of those matchup bonuses apply inside Armadas, Assaults, or station defense. You collect them through a daily Ex-Borg Faction Store bundle of Temporal Disruptors and Silent Nebula Tokens: Disruptors buy Artifact shards directly in the Store's Artifact section, while Tokens send you into the Silent Nebula to fight Silent Hostiles, who drop Temporal Disruptor Parts exchangeable for reward chests containing more Disruptors, Ship Parts, and Orbit Medallions. It's a genuine farming loop, not a one-time unlock -- your Artifact roster grows only as fast as you keep working that Nebula rotation. Mastery Artifacts sit a tier above regular Artifacts and reward having built a broad collection rather than one deep one -- upgrading one costs both a set number of shards for that Mastery Artifact and a minimum level across a set of other Artifacts you already own, so a roster of a few maxed Artifacts and nothing else won't get you far here. Each one grants a strong passive buff plus access to exclusive daily gift bundles of resources, parts, and speedups, and the payout on both scales up as the Mastery Artifact's own level rises. They're best read as the game's answer to "what do I do with Artifacts I'm not actively using" -- breadth across your collection has its own reward track, separate from just maxing your favorites.