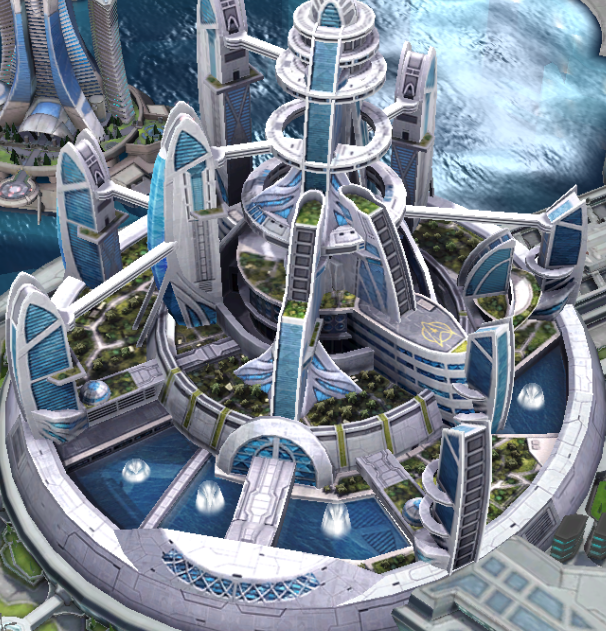
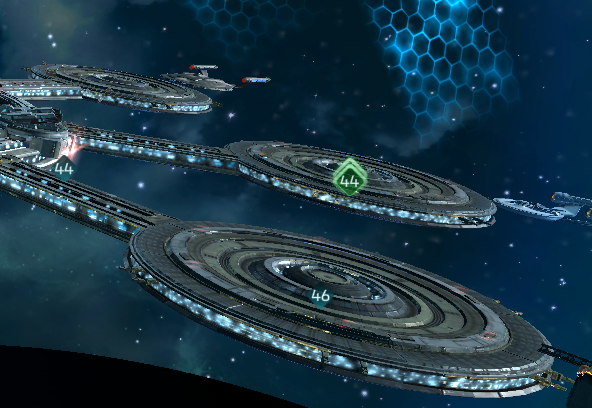
Every station splits into two halves that grow in different directions. The Interior is your economy and progression: Operations is the command center whose level gates your player level, unlocks new buildings, and raises your weapon damage bonus; the Academy houses officers who aren't assigned to a ship and lets you recruit and train more as it levels; R&D unlocks research, which gates most ships and buildings further down the line; Warehouses cap how much Parsteel, Tritanium and Dilithium you can hold (chest, mission and event resources can still push you over the cap — only generator collection stops); Generators produce those same resources over time for you to tap and collect; and Vaults shield a portion of your stockpile from being raided when you're attacked. The Exterior is combat and fleet capacity: Defense Platforms sit between your drydocks as your station's first line of defense, self-repairing over time and upgradeable with resources — note that upgrading them does not count toward the Power Creep daily goal the way Interior buildings do, since the game treats Defense Platforms more like ships than station modules. Drydocks hold and repair your ships when they're docked at home; each drydock holds exactly one ship, so more drydocks means more ships in active rotation, and upgrading a drydock speeds up and cheapens repairs for whatever's assigned to it.
The Refinery turns raw mining output — Ore, Gas and Crystal — into the Common through Epic materials your ships, base upgrades and research actually consume. What it can refine is gated by your Operations level, not by the Refinery building's own level (upgrading the building instead rewards you with raw materials directly): G3 raw materials refine from Ops 20, G4 opens in stages from Ops 40 (Common) through Ops 45 (Epic), G5 the same way from Ops 51 to Ops 57, and G6 from Ops 62 to Ops 65 for the tiers currently available. Because the gate is your Operations level rather than a building you can rush, there's no way to skip ahead on refining tier by pouring resources into the Refinery alone.
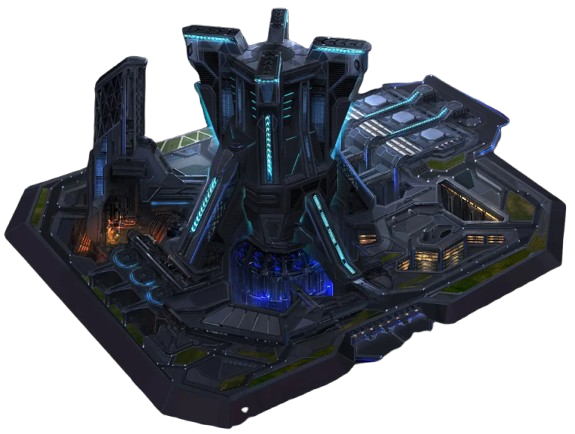
The War Room unlocks at level 20 through the mission "Show Us Your Mettle," claimed at the Holodeck, and its Klingon-inspired design fits its purpose: converting PvP activity into rewards for you and your Alliance. You fill its Warchest by destroying enemy ships or raiding resources from players who are off their protection cooldown, and extra points come from Territory Capture Trailblazer events or from fighting inside Territory systems or Incursions. Warchest rewards include resources, ship components, construction materials and particles toward the Tactical Warmonger research node in the Combat tree, and the building's own level determines how good those rewards get — bonuses land in tiers every 5 levels starting at level 6, which makes upgrading the War Room worth prioritizing once you're relying on it. Alliance members only qualify for a given Warchest's rewards if they actually contributed points to it, but the milestones are set low enough that normal play gets you there without needing to break ROE or camp Off-Protection-Cooldown targets.
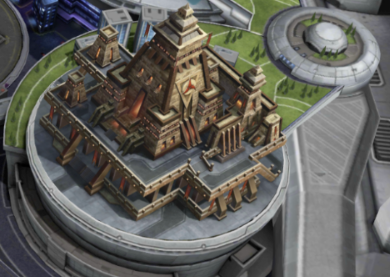
The Holodeck, hosted in-story by Reginald Barclay, unlocks at Ops 15 through the "Holodeck Intro (Silver Screen)" mission and lets you replay past story arcs — new arcs need Matrix Diodes (free at the start of each arc, arc-limited), older arcs need Pattern Buffers (from events, store offers, or every 5 Holodeck levels). Upgrading it from Ops 32 onward, using Holo-Field Amplifiers, buffs your ships' Piercing stat, cuts ship parts costs, and raises the positive FKR reputation you earn from hostiles and Armadas — on top of unlocking free Enterprise-E officer shards (Data, Troi, Picard) at set level milestones. One limit worth knowing: your combined active-plus-archived mission count caps at 54, and you can't buy another mission from the Holodeck menu until you drop below that by finishing or archiving something.
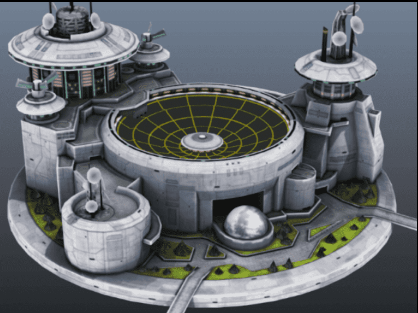
The Treasury unlocks at Ops 15 via a Treasury Key from the Gifts section, and works as a fillable lockbox: defeating hostiles and clearing your final Daily Goals milestone fills it up, and once full you crack it open with a Desealing Rod (bought in the Offers tab, or exchanged from 4,000 Broken Desealing Rods gathered during events) to collect resources and materials. You get 72 hours to open a filled lockbox — or less, if the wider Treasury event itself ends sooner — and Desealing Rods are single-use per Treasury, so an unused one expires rather than carrying over. Upgrading the building with Optical Diodes boosts three passive buffs (Mining Rate and Protected Cargo for survey ships, Max Cargo for every ship) and raises the Optical Diode payout in your daily chest every 10 levels; past level 61, upgrades switch to Rare Optical Diodes instead. At level 40, the daily Optical Diode bundle starts including Prime Particles for the Territory Capture research tree as a bonus.
The Mess Hall unlocks at Ops 15 and upgrades on a different axis than most buildings: it needs Replicator Rations (free daily from Gifts, plus mission and Offers-tab sources) and your Total Crew Level — the sum of every officer's individual level — rather than your Operations level. With up to 99 building levels available, the practical bottleneck for most players is growing that Total Crew Level, which only moves when you actually level up officers (Fleet Commanders don't count toward the total). In exchange, the Mess Hall provides four buffs that scale with its level: Weapon Damage bonus, Officer Stats, Research Speed, and Tritanium cost efficiency for ship components — a genuinely broad spread that makes it worth feeding steadily rather than ignoring.
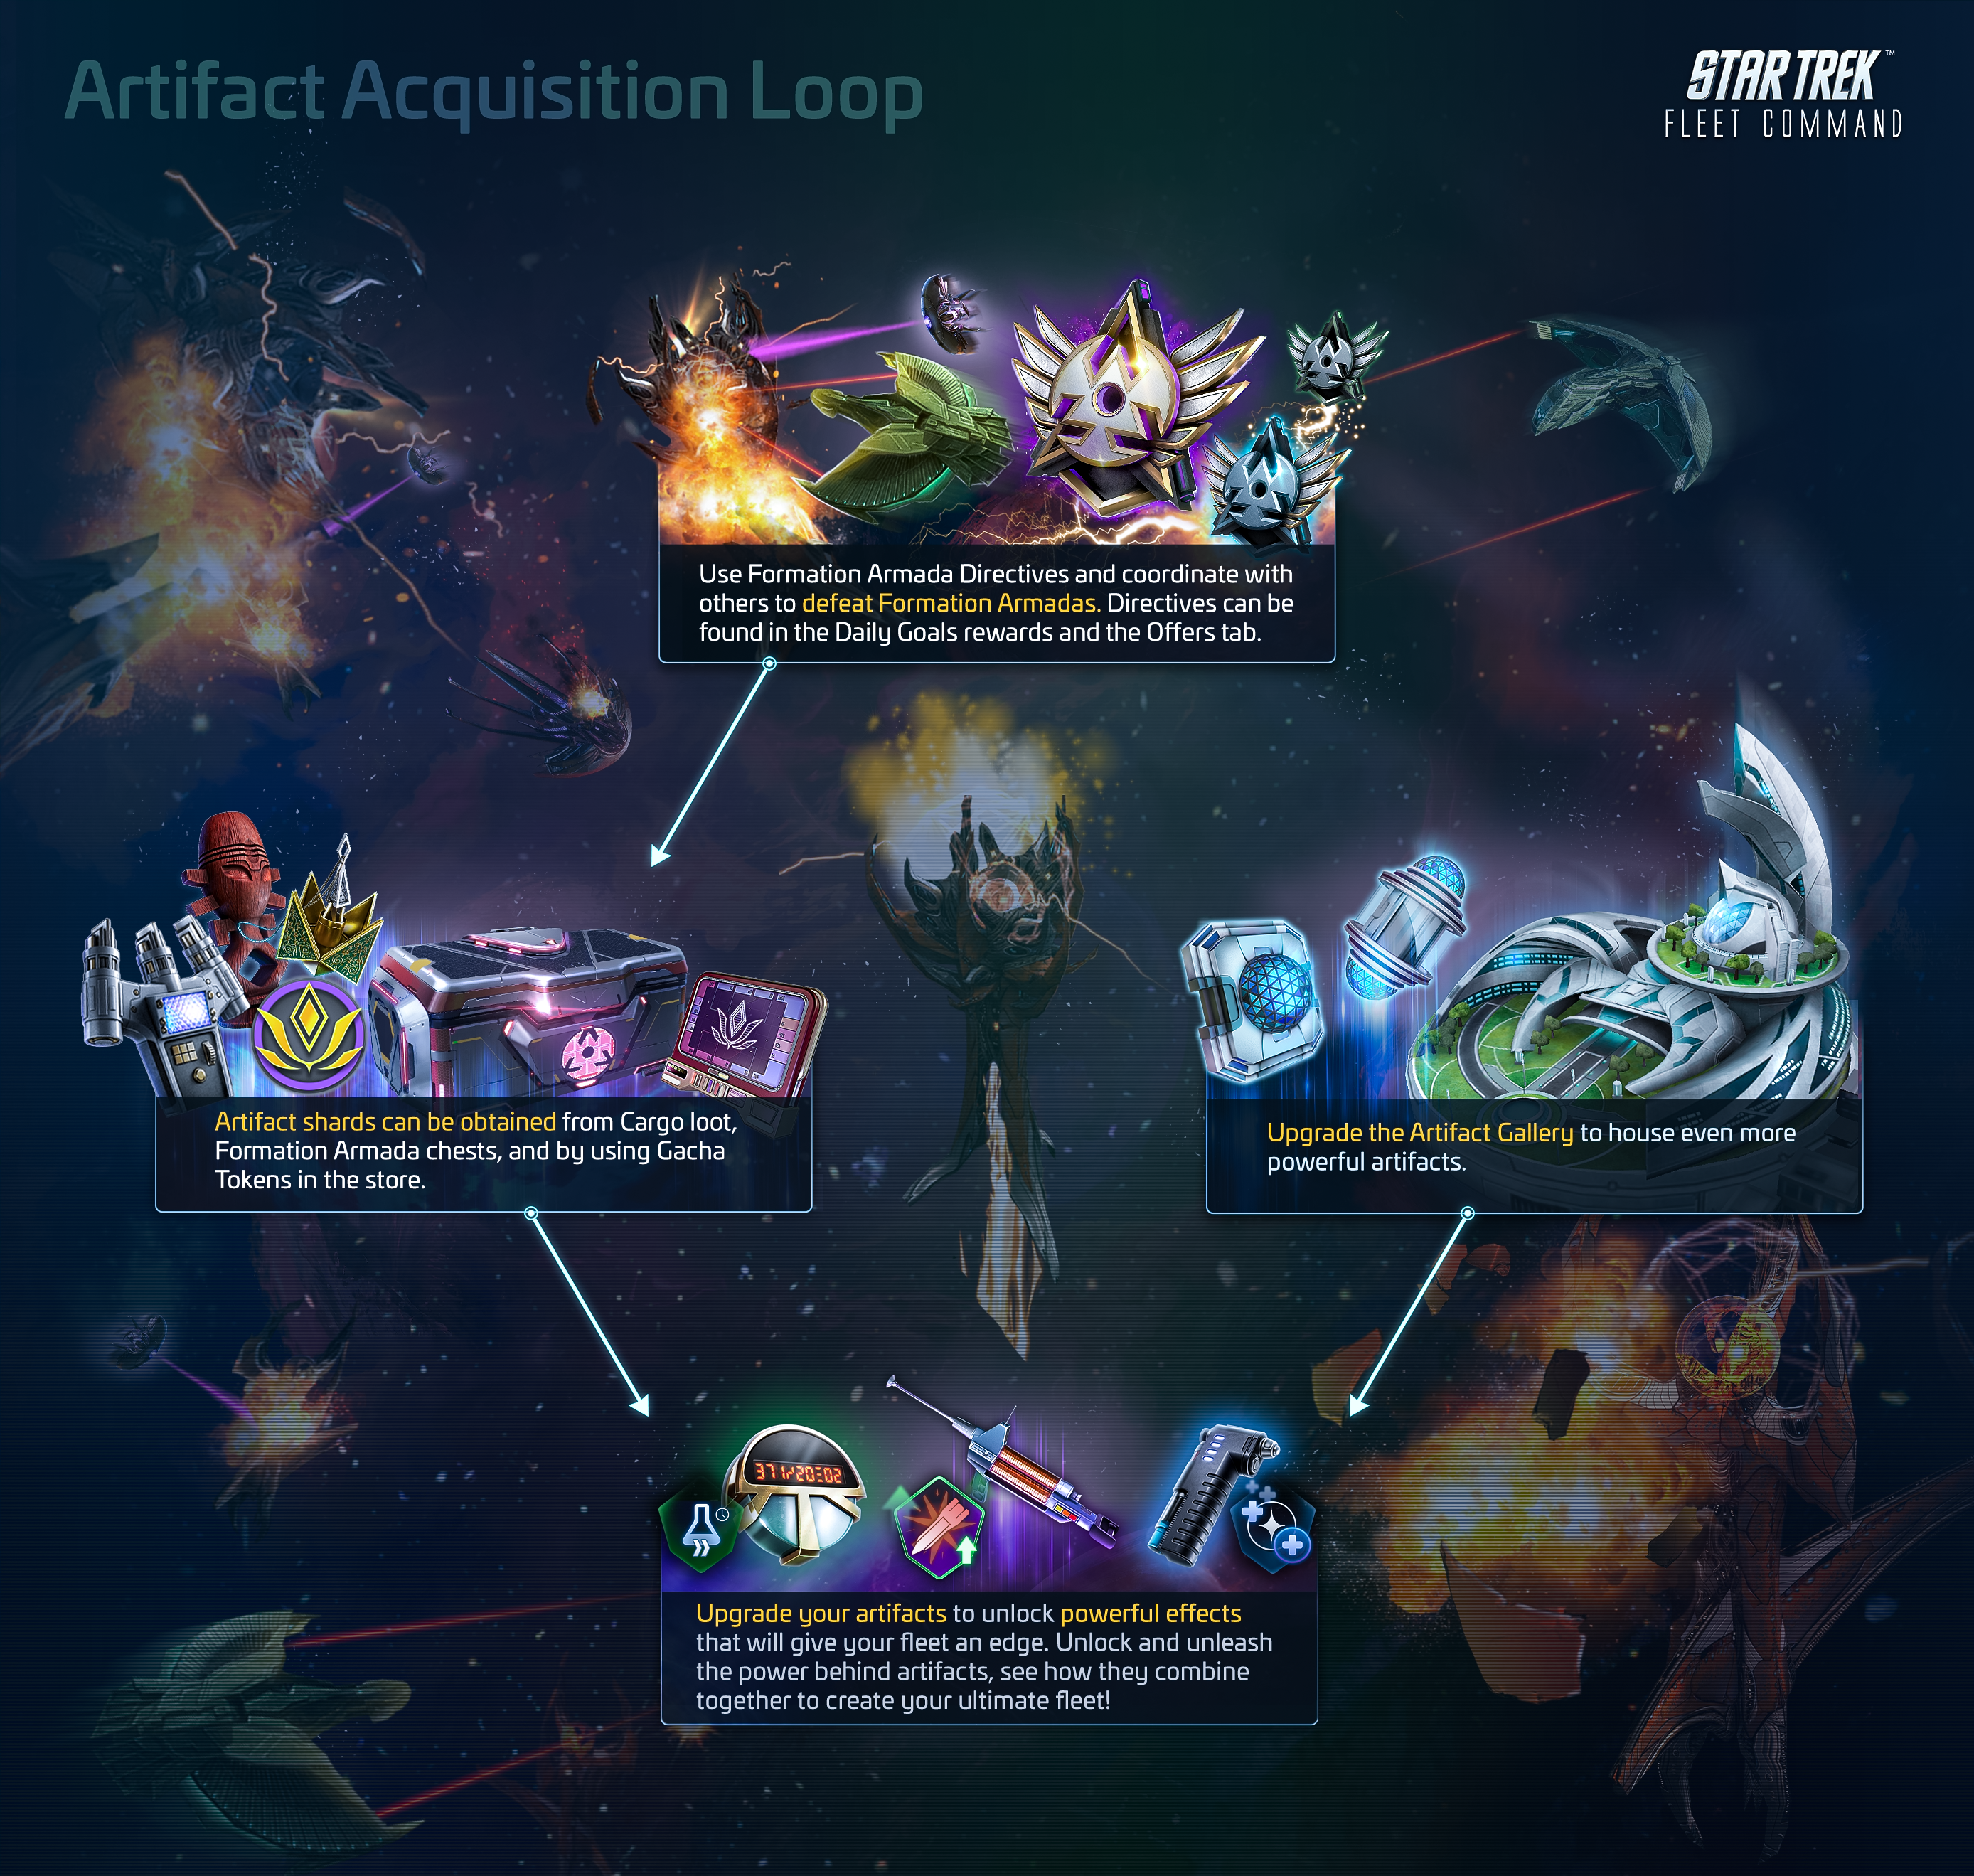
The Artifact Gallery unlocks at Ops 26 alongside the "Collect & Conquer" mission that introduces artifacts as a system. Artifacts themselves come in three types — Regular, Temporal and Mastery — and unlock once you've collected enough Artifact Shards, sourced from Artifact Restoration chests or from defeating Formation Armadas (Premium and Isolytic variants of those chests need their own token types, again mostly earned from Formation Armadas). Upgrading the Gallery itself, using Artifact Gallery Schematics, boosts Hull Health, Shield Health and the number of Artifact Tokens you earn per Armada, and improves the tier of what Restoration chests can drop; some individual artifacts are gated behind specific Gallery levels (1, 5, 10, 15). Once you're holding more shards than you need, the Refinery's Artifact tab (or the Gallery's own Convert button) turns the surplus into Remnants, which take over as the upgrade material once an artifact hits level 15 (Regular) or 9 (Temporal).
By default your station can only build one thing, research one thing, and repair one ship at a time — extra queues remove that bottleneck. They're store purchases rather than buildings: up to 3 extra Builder queues, 3 extra Research queues and 2 extra Repair queues are currently available, one of each per player, and every queue works exactly like your original one (same speed-up mechanics, same help-request boosts, same prerequisite rules for research and buildings that need them). Builder and Research queues need Ops 5; Repair queues need Ops 15. Each unlocks automatically the moment you buy it — just start a second (or third) job and it runs alongside the first — with one exception: the 4th Builder Queue has to be manually claimed from the Gifts section after purchase, rather than activating on its own like the others.